These are my notes on how to assemble the Sabre Lite case.
Before starting the steps below:
• Unscrew the 4 screws holding the case together.
• Ensure there is no SD or microSD in the board.
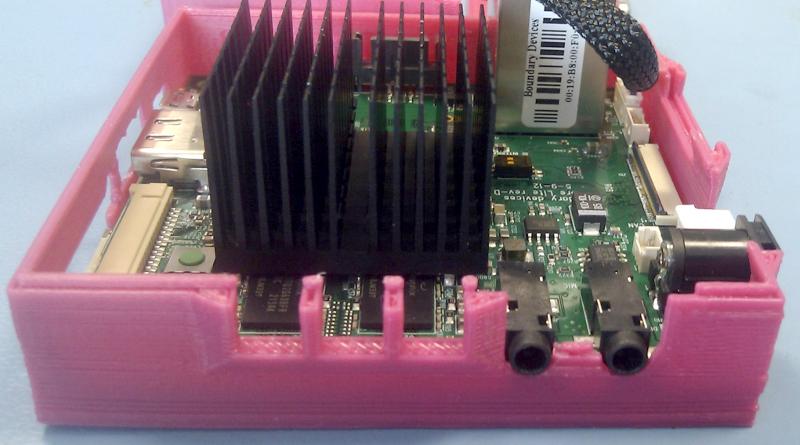
• Clean the top of the CPU with an alcohol wipe / cleaner.
• Orient the heatsink correctly for best air flow.
• Remove the protective plastic from the heatsink and apply firmly to the CPU.
When handling the open / unscrewed case, please be careful not to apply too much force to the walls. If one does crack, a little Cyano Acrylate / Superglue will weld it back together quickly and easily.
Insert the edge with the HDMI connector on first at approx. 30 degrees.
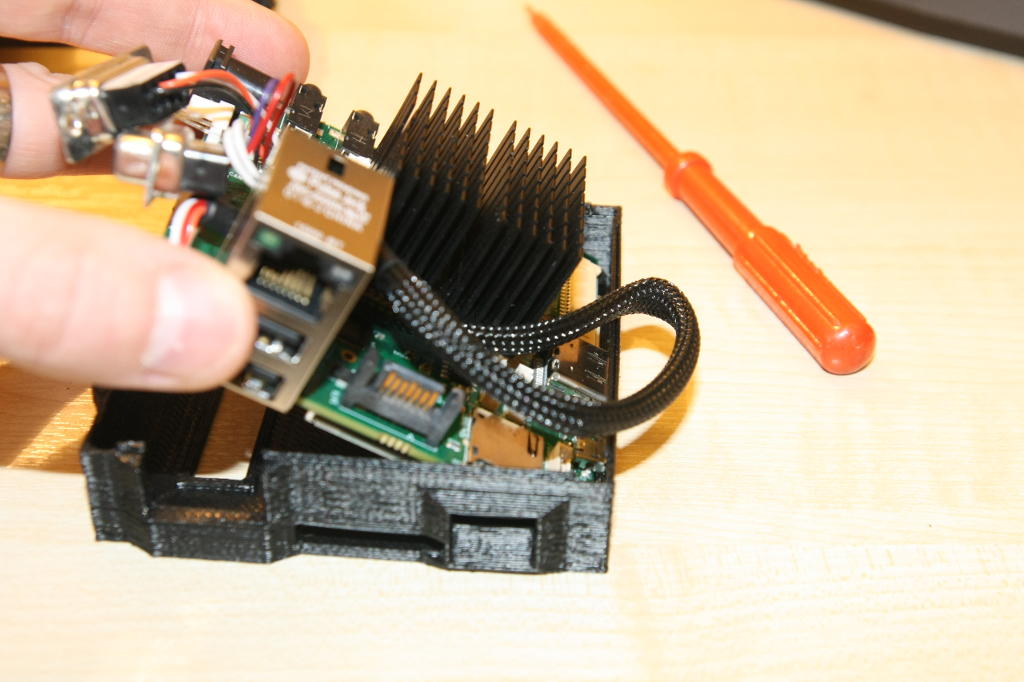
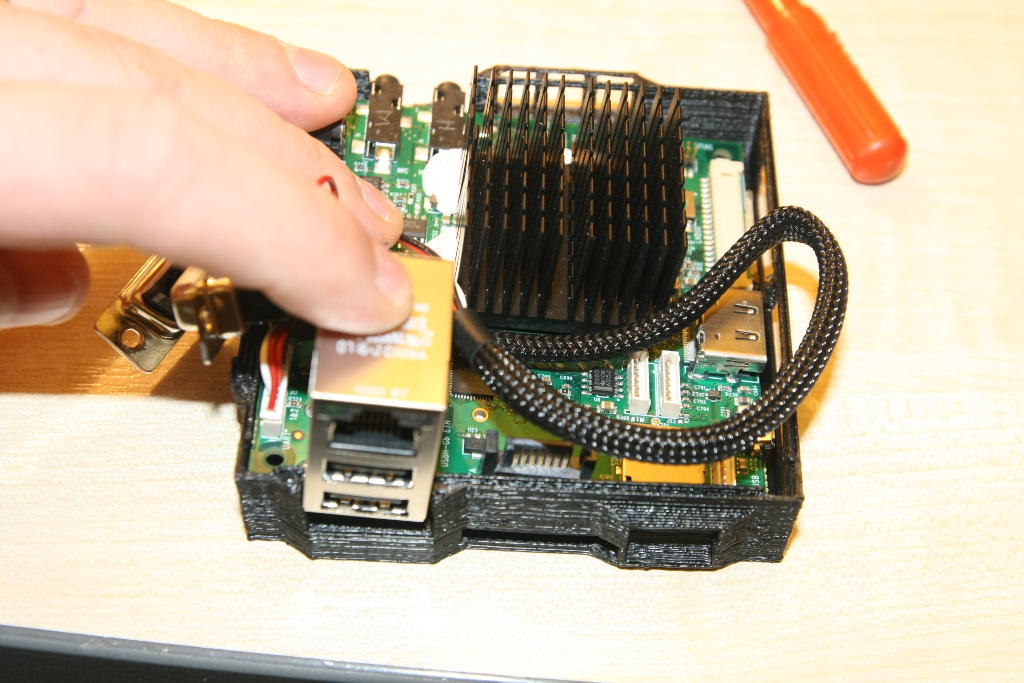
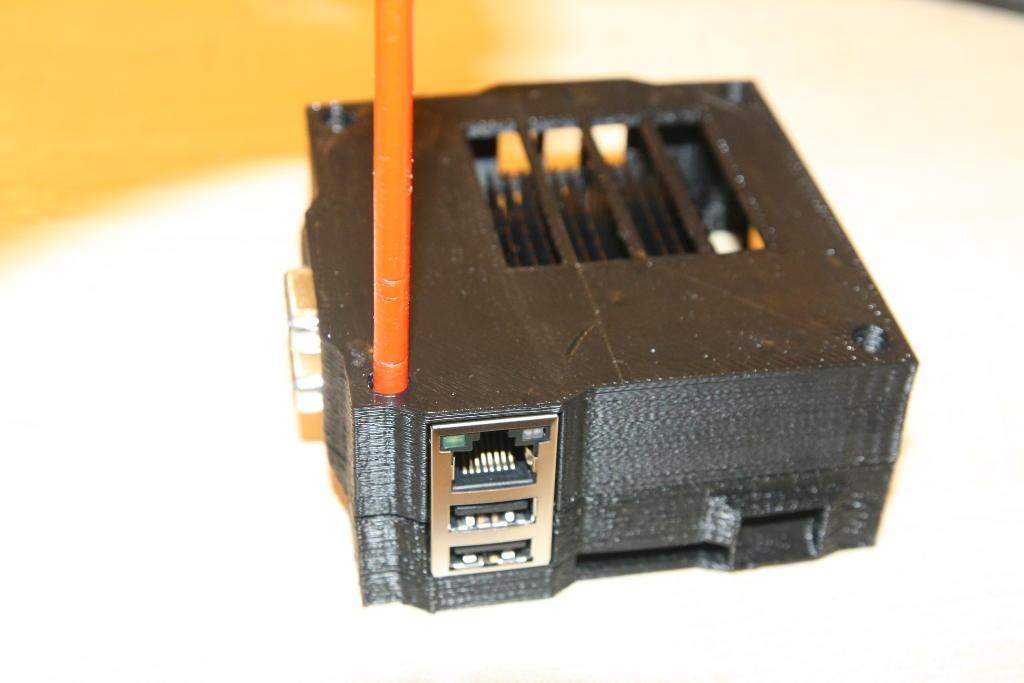
Gently press on the network jack and guide the board into place taking care not to stress the case walls.
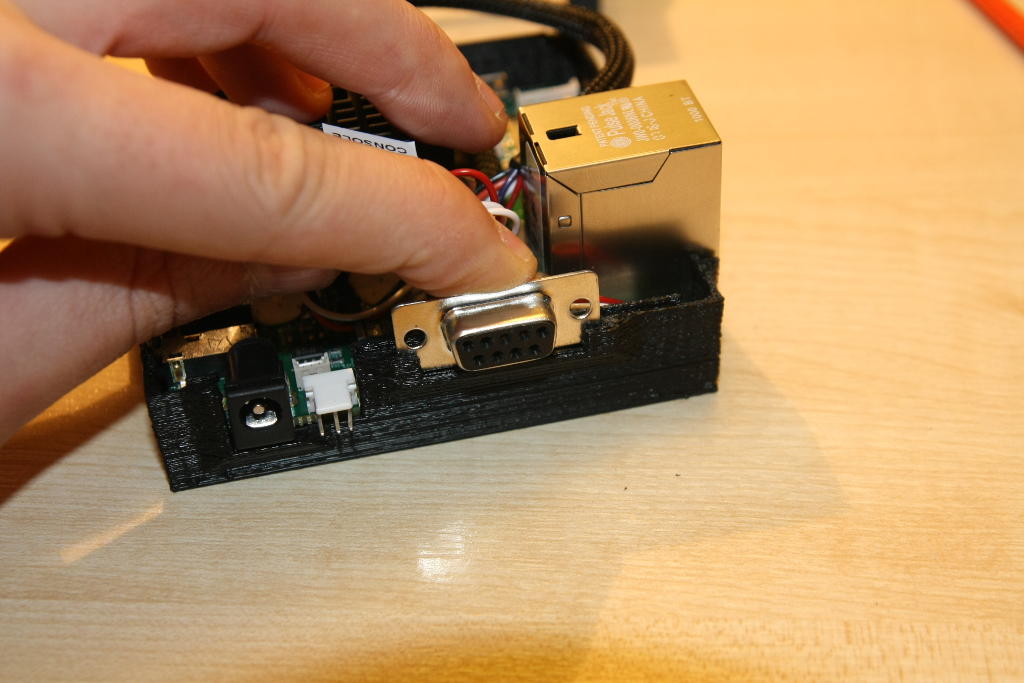
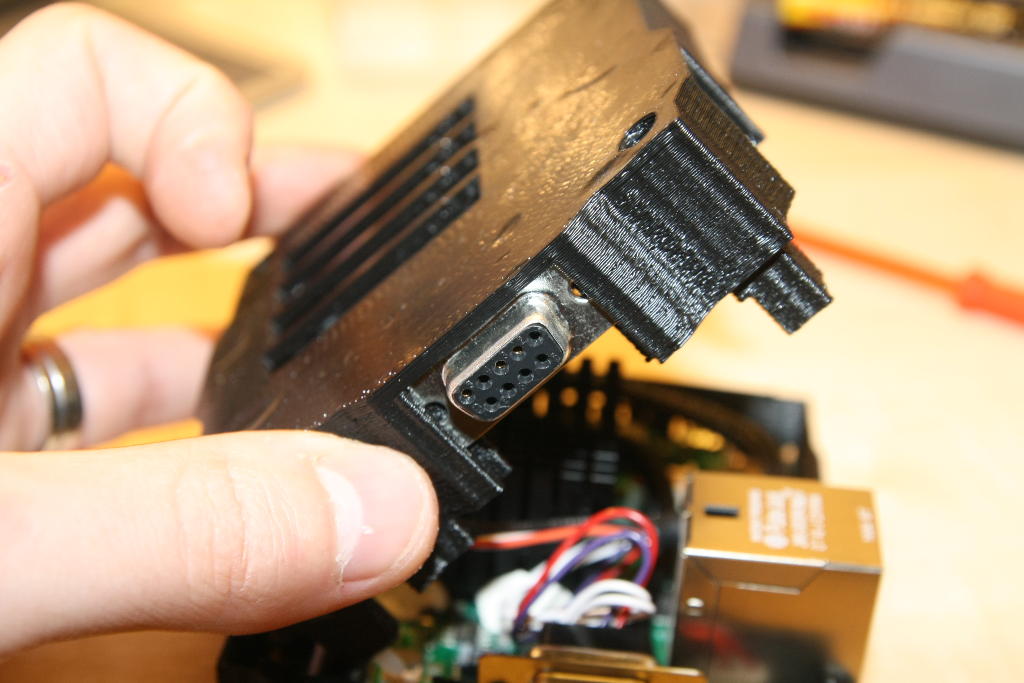
Firmly push the unmarked serial connector into the bottom of the case. Apply pressure vertically taking care not to force the case wall horizontally.
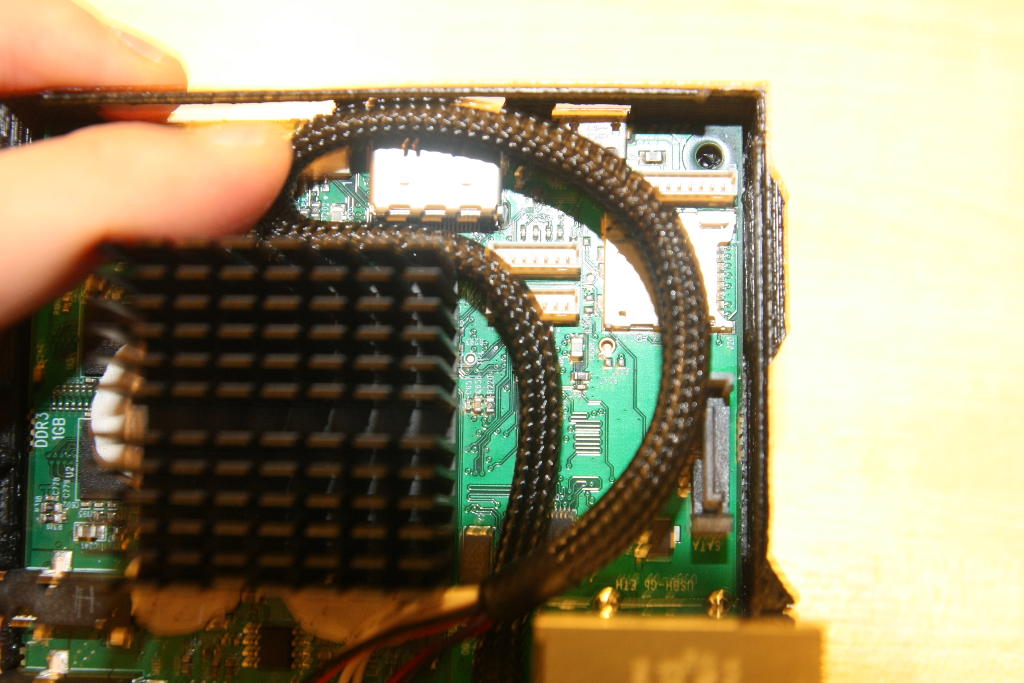
Route the excess serial cable around the heat sink, making sure not to obstruct the airflow.
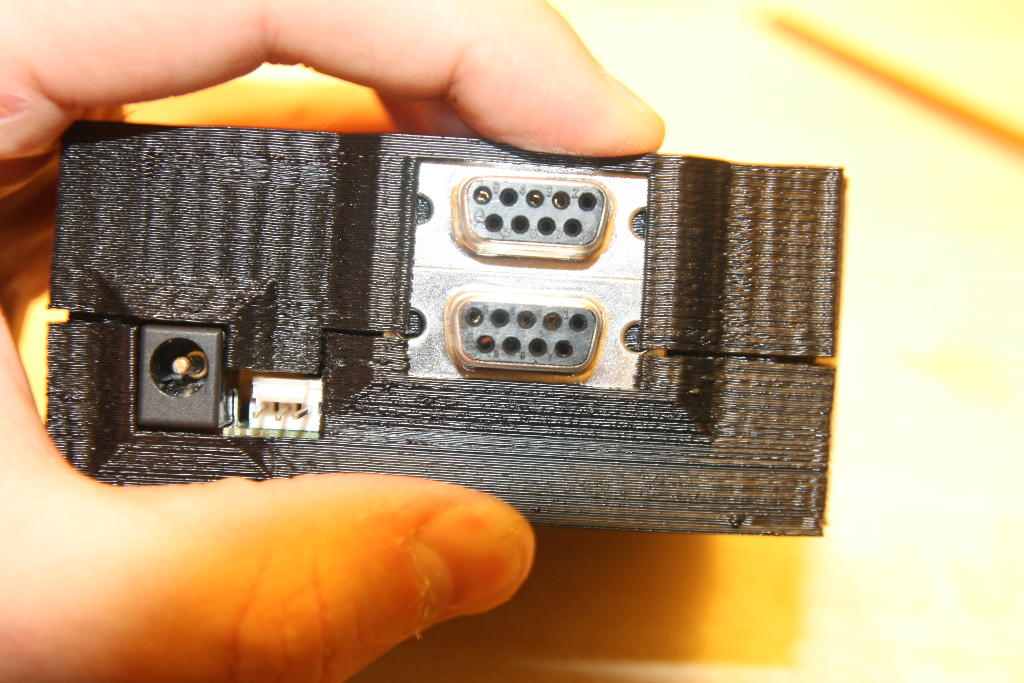
Firmly push the "Console" serial connector into the top half of the case.
Push the two halves together ensuring that no cables are trapped underneath the four screw pillars.
When tightening the four securing screws, take care not to over-tighten as this will damage the case.