Drop in Moshi replacement now Available In Store!
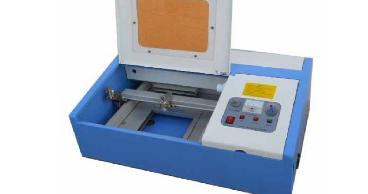
I purchased one of these laser cutters from eBay, with full knowledge that the provided software (Moshi Draw) was not going to be suitable for my purposes.
What I hadn't realised is that you can't run the supplied (dongle locked) software under VirtualBox. Having made the switch to Linux years ago, I had no intention of using a dedicated Windows machine!
Optional features:
• Coolant temperature monitoring (DS18B20 1-wire sensor)
• Analogue Joystick control to set the origin
• LCD Display of coordinates and Power / PPI (Nokia 5110 LCD)
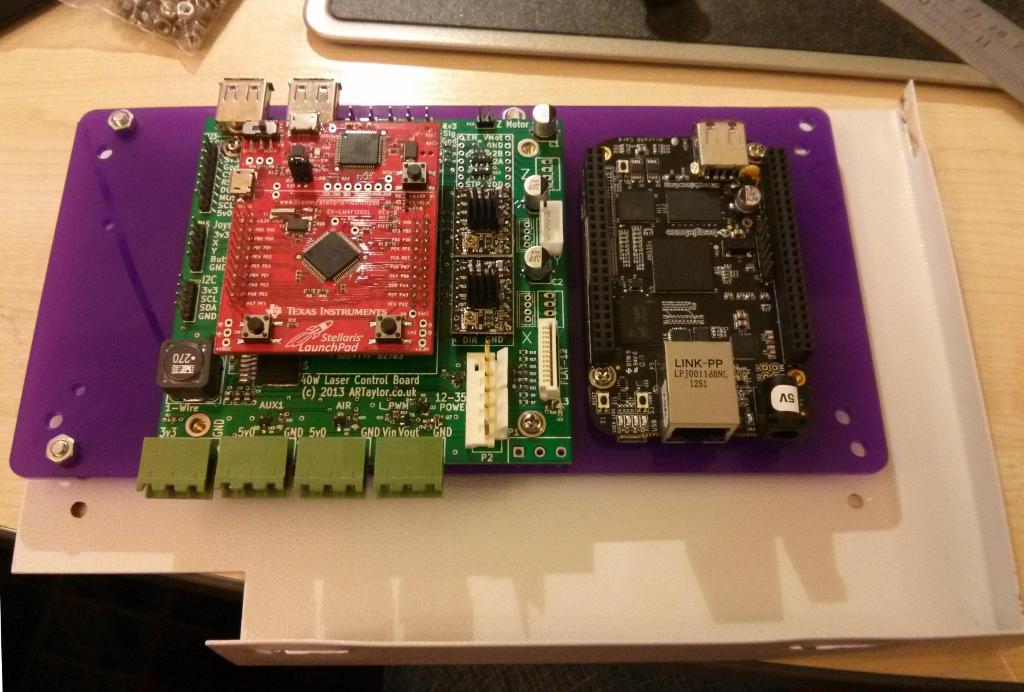
• Networked backend using R-Pi / BeagleBone
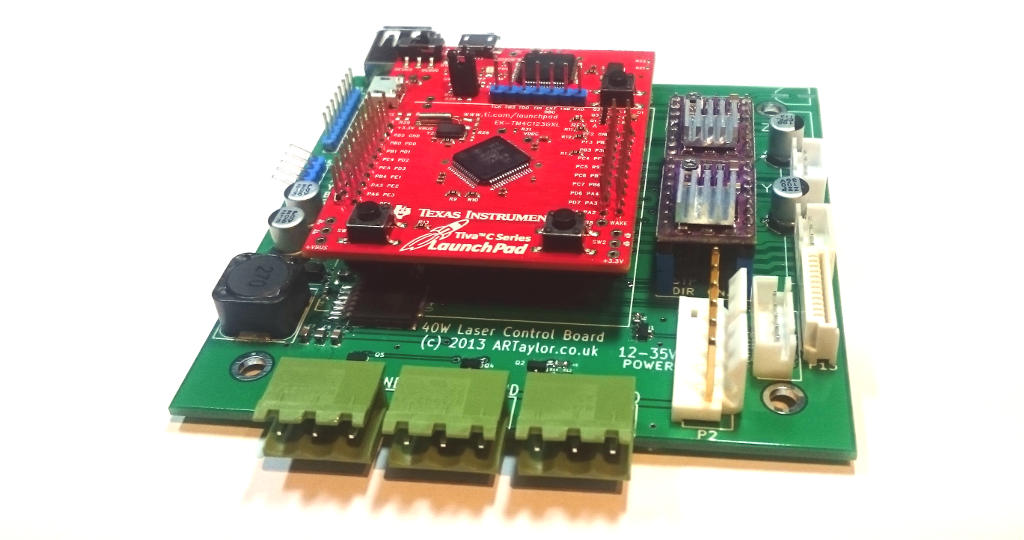
This drop in replacement for the Moshi Board enables you to use the full potential of your 40W machine from Linux / Windows / Mac.
Standard Features:
• GCode Control via USB Serial
• PWM Power Control
• Raster (Image) Engraving
• PPI (Pulses Per Inch) Speed de-coupled intensity control
• Open Source (GPL) Firmware
• DSP Like Performance
• 2x Open Drain Outputs (e.g. Air Assist)
• 5V Powered USB port
• Compatibility with the LasaurApp software (web based frontend)
• SVG & DXF Import (via LasaurApp interface)
• Multiple passes configurable from frontend as one batch
Please check the Spec Sheet for connector compatibility.
The board enumerates as a standard USB ACM Device (Serial Port) and accepts GCode commands.
LasaurApp is Python based and should run cross platform. I have tested it on Windows (XP, 7) and Linux (Desktop and BeagleBone).
You will need Python 2.7 and PIL installed if running from source.
My modified version of LasaurApp: https://github.com/art103/LasaurApp
Windows Binary Package (inc. USB Driver): LasaurApp.zip
The support panel was cut using this conversion.
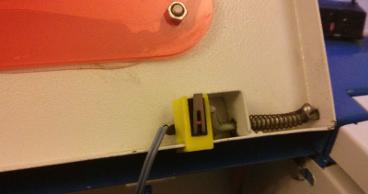
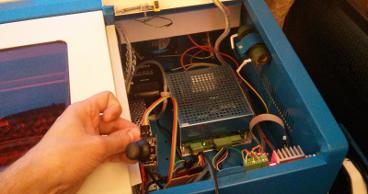
The laser engraver did not come with any safety mechanisms. You can happily open the PSU, Laser and Workspace doors and it will carry on Lasing.
I added some micro-switches that will power off the Laser and stop the stepper motors when either of the doors are opened. The machine will resume where it left off when the doors are closed.
I have added support for an optional temperature sensor that pauses if the coolant temperature exceeds 20 °C.
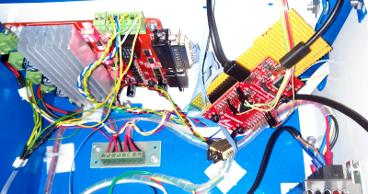
Not very elegant yet, I have used a TB6560 v2 controller board and a TI Stellaris Launchpad MCU board as my embedded controller.
The code and pin-configuration are available on GitHub: https://github.com/art103/LasaurGrbl
The opto-isolators were extremely slow and limited the maximum head speed. Even after removing them, the performance was not great. This prototype laid the way to the custom board now available.
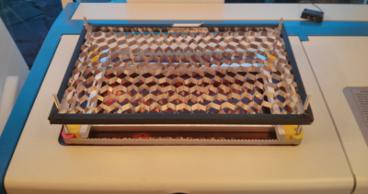
Quite frankly the "Bed" supplied with the machine was terrible. I created a pulley based adjustable cutting bed that is driven by a small geared motor, 4 pulleys and a belt.
Sketchup design here: Bed_Model.skp
The corners and pulleys are 3D printed, there are some standard bearings, threaded rod and a bit of 'U' section aluminium and PVC from B&Q.
I added support for an analogue joystick and a laser cross-hair to enable me to locate the top corner of a workpiece. This then sets the (0,0) position in the firmware (temporarily!).
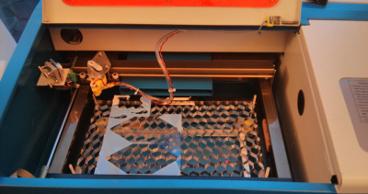
So this is it - my converted Laser Engraver.
I have uploaded a video showing the cross-hair origin setting, and a test cut to YouTube: http://youtu.be/9TBgzcda1J8
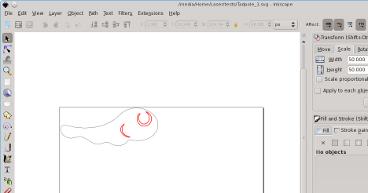
I am currently using .svg as the source format, going through Inkscape first to make sure it is sensible, then feeding into the Lasersaur frontend.
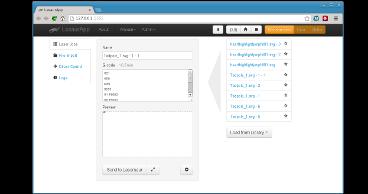
I really like this frontend. It takes an .svg (or .dxf) file as input, presents it to you in an import wizard where you can specify different passes (power and speed) for different colours of path.
See http://labs.nortd.com/lasersaur/ for more information on the Lasersaur project.
This is a photo of the test cut that I made. It is 35mm long, cut out of 3mm Perspex.
(My Daughter is learning about tadpoles at school...)
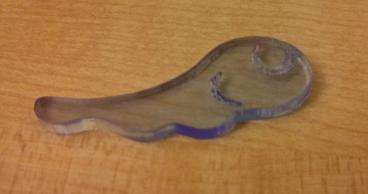
This is finally a cut that is a step towards something useful.
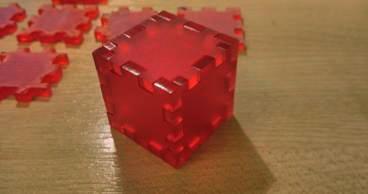
I want to make Lasercut cases, so a 25mm cube is a good start. The first cut had the wrong tolerance, second go isn't bad :)
This is what I've been aiming for - the resolution is (intentionally) low to reduce rastering time. Processed directly from .svg using only the LasaurApp frontend with one "Send to LaserSaur" click.
It is a 40mmx45mm Tux Penguin Engraved and Cut from 3mm Acrylic.
Code is here: https://github.com/art103/LasaurApp.git

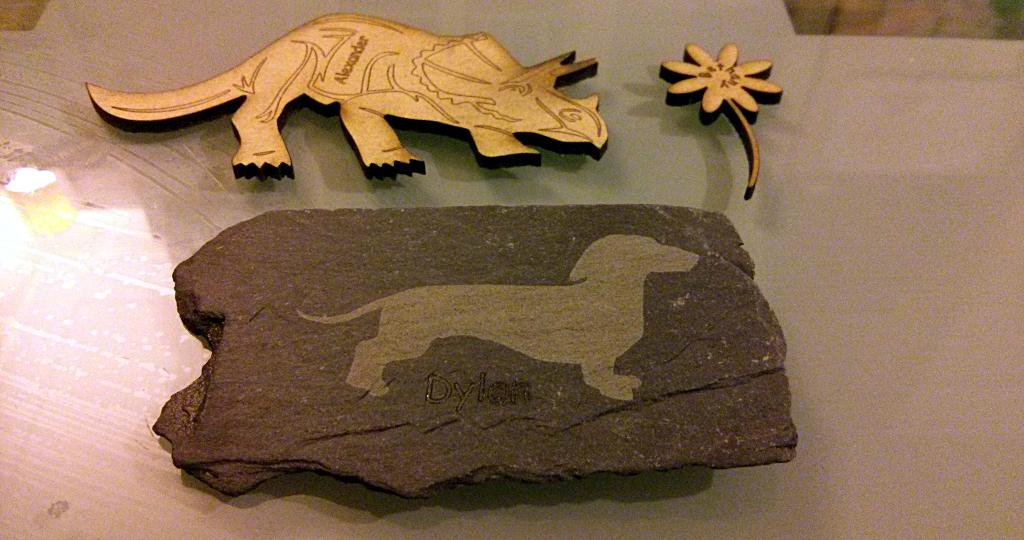
Here are some examples of what can be achieved with my new conversion board and Lasersaur software.
The raster, vector engrave and vector cut operations are done in one session at varying power levels.
The slate piece is approximately 70mm wide.