 |
ARTaylor.co.uk
GP2x - Modified U-Boot
ART103's U-Boot PageSee also: http://www.artaylor.co.uk/~richard/gp2x for USB Adaptors / Kernel Images |
| Description | Picture |
|
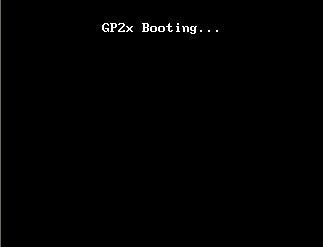
At power on, this screen is shown. It is text based, so does not take up as much space as the GPH splash screen. This allows a slight improvement in boot time. |
|
|
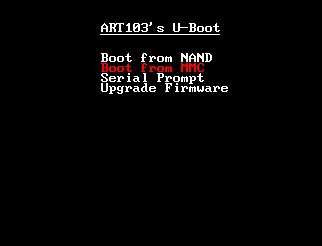
If you hold the START key at power on, this menu will be shown, allowing you different boot options. Boot from NAND will boot the image in NAND as normal. Boot from MMC will try to load kernel.img off an MMC / SD card. The format for this is the same as the gp2xkernel.img used for re-flashing. Serial prompt will give you the U-Boot command prompt on the RS232 port. Upgrade firmware will try to update the firmware using the .img files on your SD card. This has been moved to the menu to save the "auto-bricking" function previously seen! |
|
|
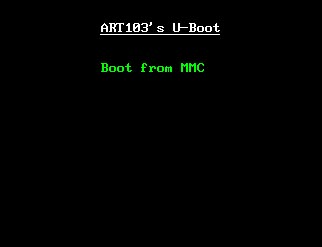
When selected, the item goes green. |
|
|
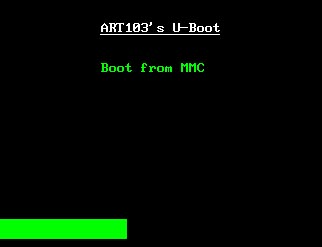
Boot progress is shown with a simple green progress bar. |
|
|
Now for the bad news... WARNING: Updating U-Boot will probably render your GP2x a Brick. Before even thinking about Flashing a new U-Boot, ask yourself the following: - Do I have access to JTAG or at least a Serial cable? - Do I mind having a brick? If you are happy to proceed: U-Boot Source snapshot - u-boot-gph-snapshot.tar.gz U-Boot image snapshot - gp2xboot.img U-Boot image relocated to run as the Kernel - gp2xkernel.img The gp2xkernel.img is not a Kernel, it is a version of U-Boot that is flashed into the Kernel area of NAND. This allows you to test the functionality of the new U-Boot without the risk associated with re-flashing the real U-Boot. It will not allow you to boot from NAND, as you will have overwritten the Kernel. (you can flash a real kernel back in later) I would highly recommend using the gp2xkernel.img to reflash the real U-Boot: - copy only gp2xkernel.img to your SD card. - Boot the GP2x (this should flash gp2xkernel.img) - delete gp2xkernel.img from your card. - copy only gp2xboot.img to your SD card. - Boot the GP2x and select Firmware Upgrade when on the blue screen. - delete gp2xboot.img from your card. - copy a real gp2xkernel.img onto your card (1.4.0 firmware, or one of mine from here). Once you've Flashed U-Boot, hold the Start key when you power on for the new menu. The firmware update doesn't happen automatically anymore, you have to select it from the menu. Known Issues: - Sometimes reads garbage from a file, and writes that garbage in the update. (seen on all images, so be sure your SD is good when flashing gp2xboot.img) Should be fixed in the latest snapshot. Work Arounds: - Manually flash using a serial cable mmcinit fat load mmc 0 0x1000000 kernel.img nand erase clean 0x80000 0x100000 nand write 0x1000000 0x80000 0x100000 nand read 0x1000000 0x80000 0x100000 If that failed, power off and try again... If the read worked, then power cycle, and cross your fingers! - If that still fails, load an image in using the serial download function of U-Boot. loadb 0x1000000 115200 - Now send the file with a terminal emulator that supports the Kermit protocol. nand erase clean 0x80000 0x100000 nand write 0x1000000 0x80000 0x100000 nand read 0x1000000 0x80000 0x100000 You can do the same for gp2xboot.img - Replace 0x80000 with 0x0 and 0x100000 with 0x80000 in the nand commands. Disclaimer: This software is provided as is. By using it, you take on all responsibility for any damage caused. Assume that this software will erase your flash completely and kill your GP2x. If in doubt, don't use it. |
Copyright - Richard Taylor - 2006