This page is to detail the changes I have made to the Eventorbot. A great Open Source project by Duy Dang http://reprap.org/wiki/Eventorbot.
I was too impatient to wait for availability of parts, so I backed the project on Kick Starter and set about printing my own set and updating the design as I went along.
My updated 'E' design is here: Blue_print.skp.
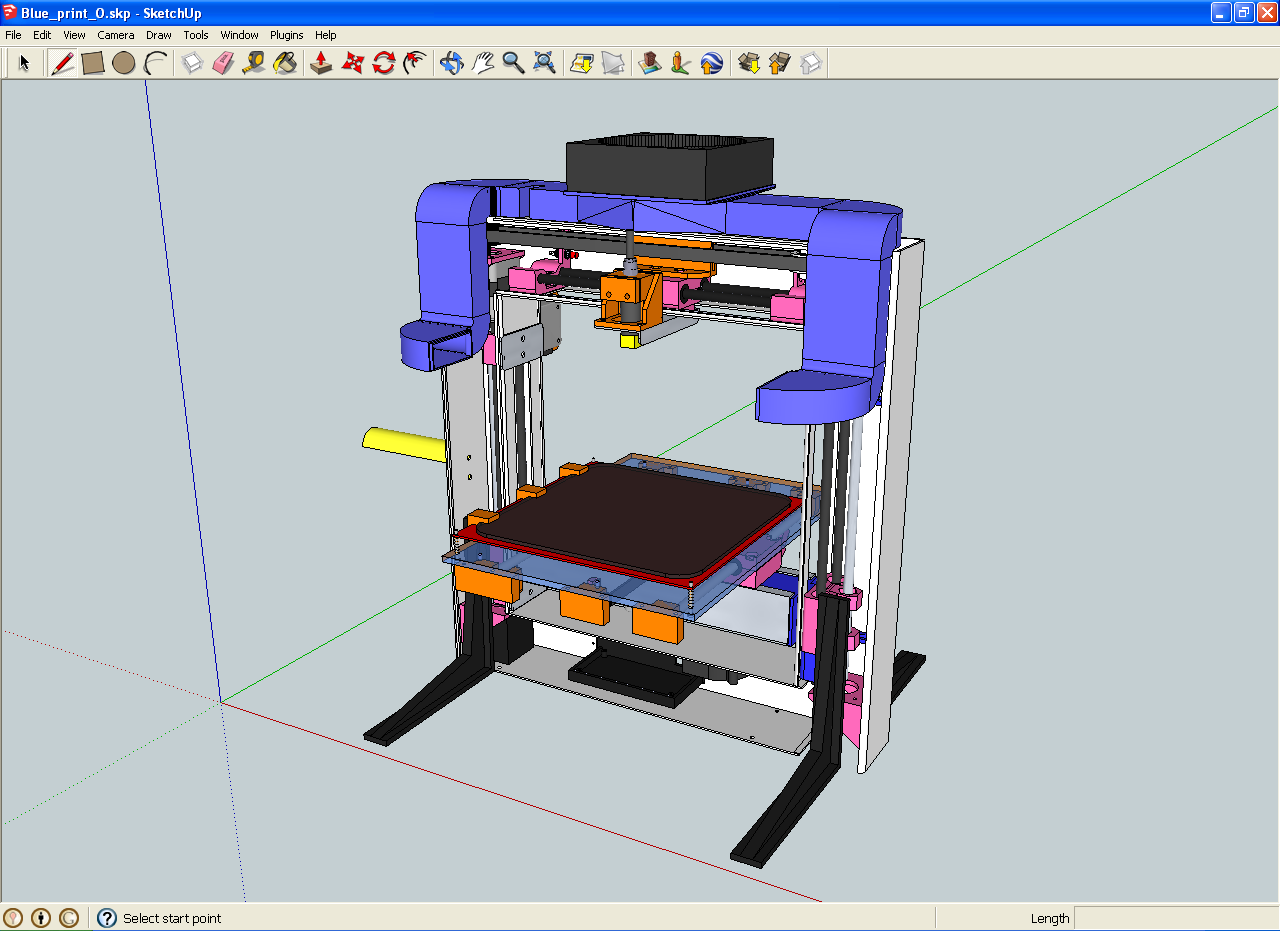
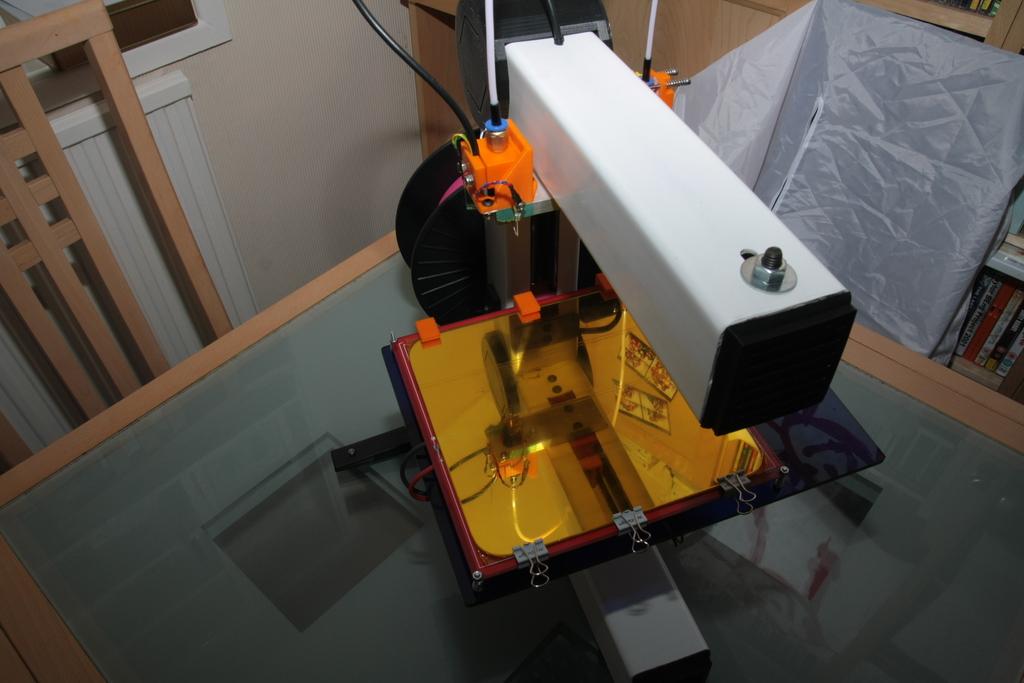
My derived 'O' design for a plastic frame is here: Blue_print_O.skp (pictured to the right).
My Marlin configuration is here.

• Add printed geared extruder to take a NEMA17 stepper.
• Add fan to bottom end cap.
• Change belt holder / clamp on Y-Axis (my belt was too short).
• Update build platform for materials that I could find / make locally.
• Add hot bed.
• Update X and Y pulleys (using OpenSCAD).
• Make a J-Head Mk. V hot end mount.
• Use £1.50 plastic shelf mounts from IKEA for feet!
I used uPVC plastic 65mm drainpipe as my frame. This was to enable me to cut / drill / weld it easily. The downside is its flexibility. I have had to consider various options, including making the 'C' design into a 'O' design. The 'O' design is going very well and I will provide an update when it is complete.
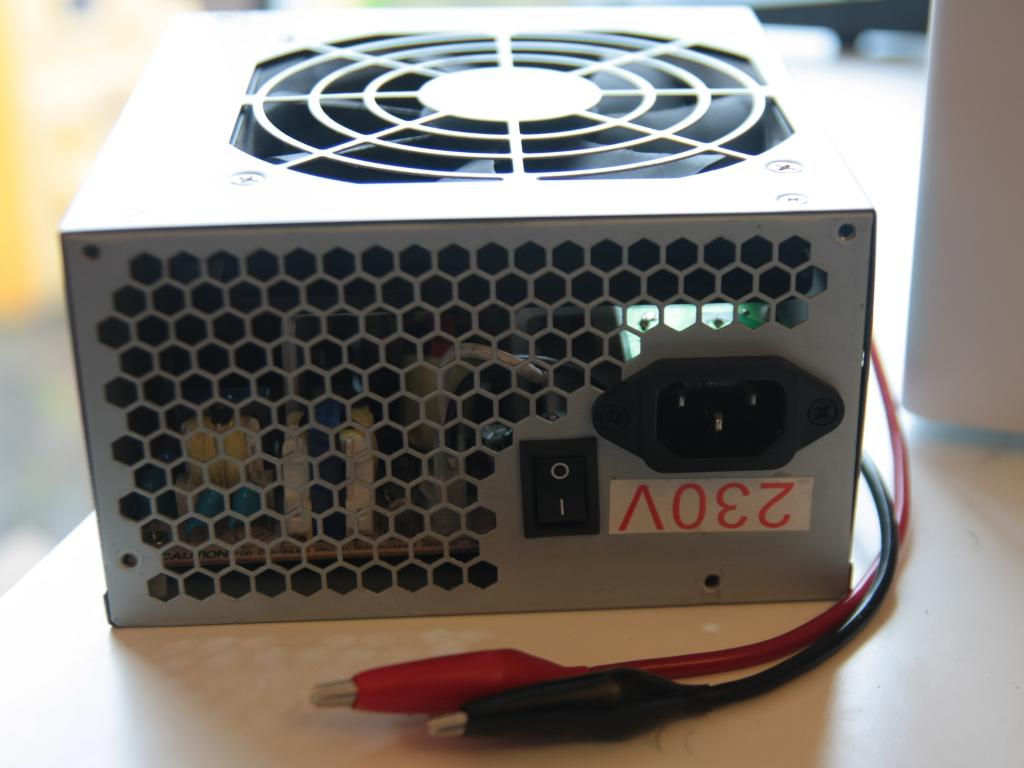
The power supply for the heated bed needs to be seriously beefy. I tried with a 120W laptop PSU, and it tripped out even with the Sanguinololu set to 25% modulation on the bed.
The bed is 0.6 Ohms, so 20A or 240W at 12V. My ATX power supply is rated to 18A on the 12V rail and drops down to 9.5V when powering the bed.

Whilst I am waiting for the metal frame and molded parts from Duy, I have added a second support to the frame to make an 'O' shape. uPVC is quite easy to weld with a hot-air rework station and plastic welding rods.
I am now in the process of printing and procuring the components for a second Z-rail to support the other side of the build platform. I have provisioned for a second Z stepper motor (as used in the Prusa Mendel) in case the single setup does not work.
I will upload the .skp and photos when it is nearer completion.
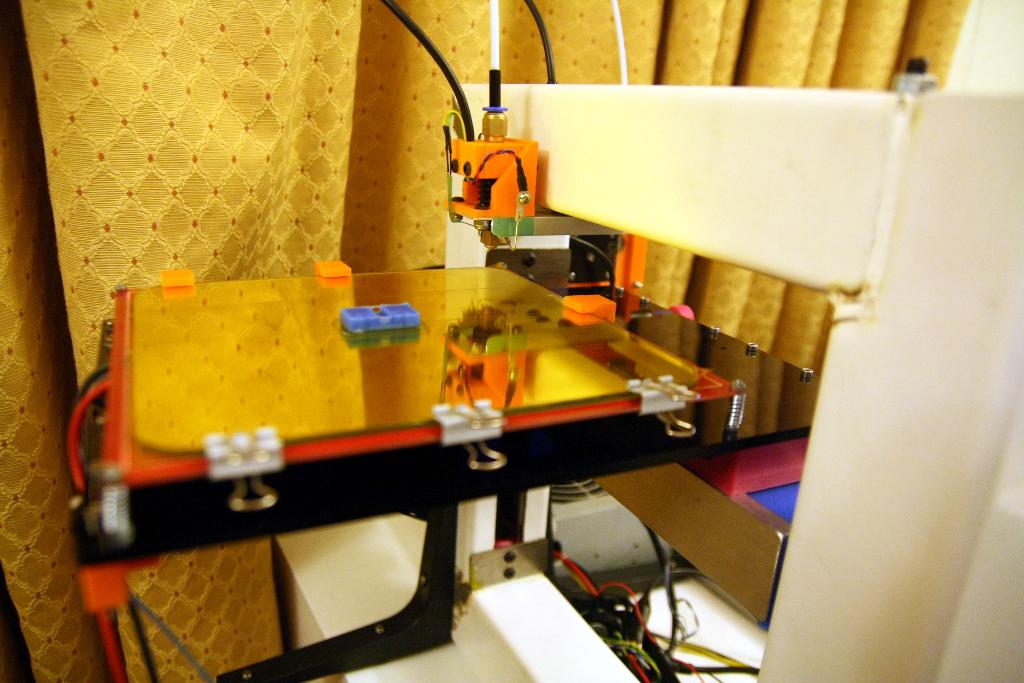
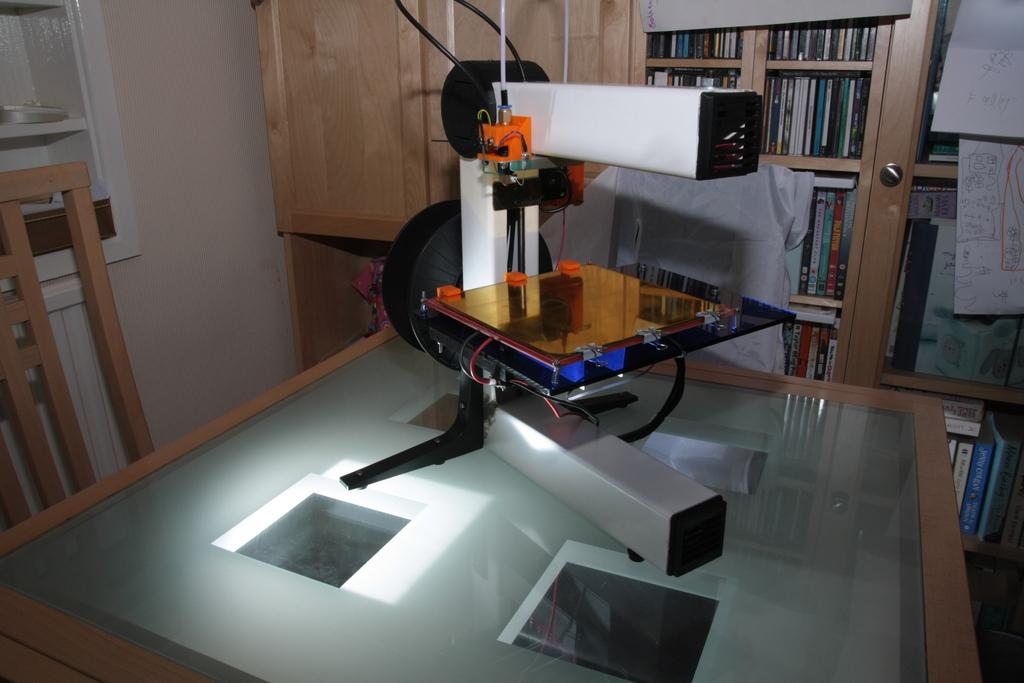
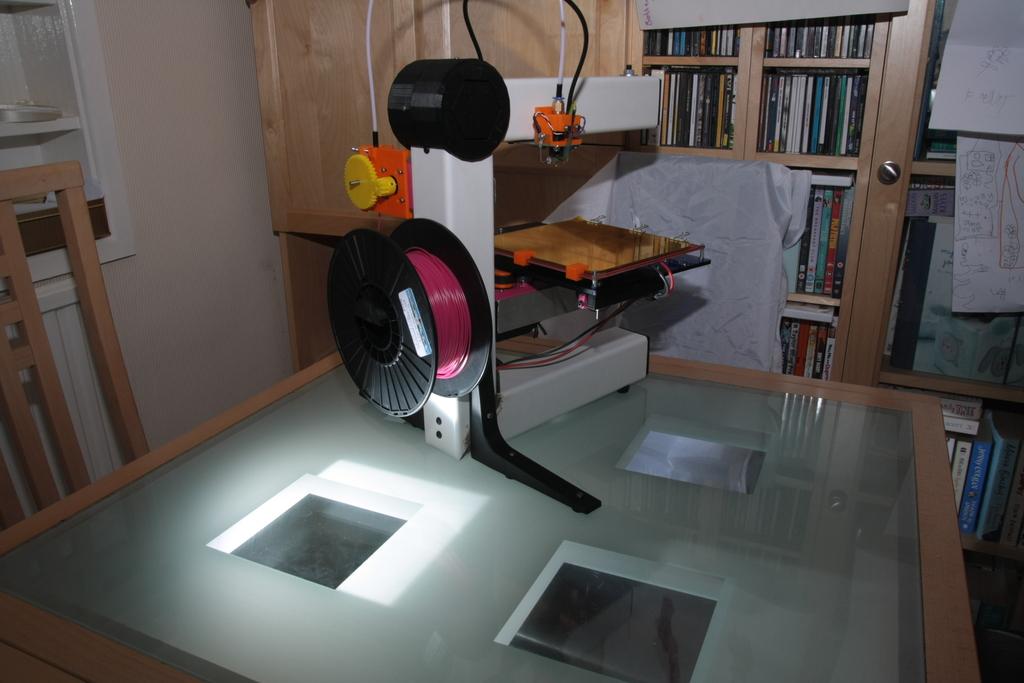
I have finished the updates to my 'O' frame. There are now two Z-motors, giving even lift at both edges. The extra rigidity means there is almost zero wobble.
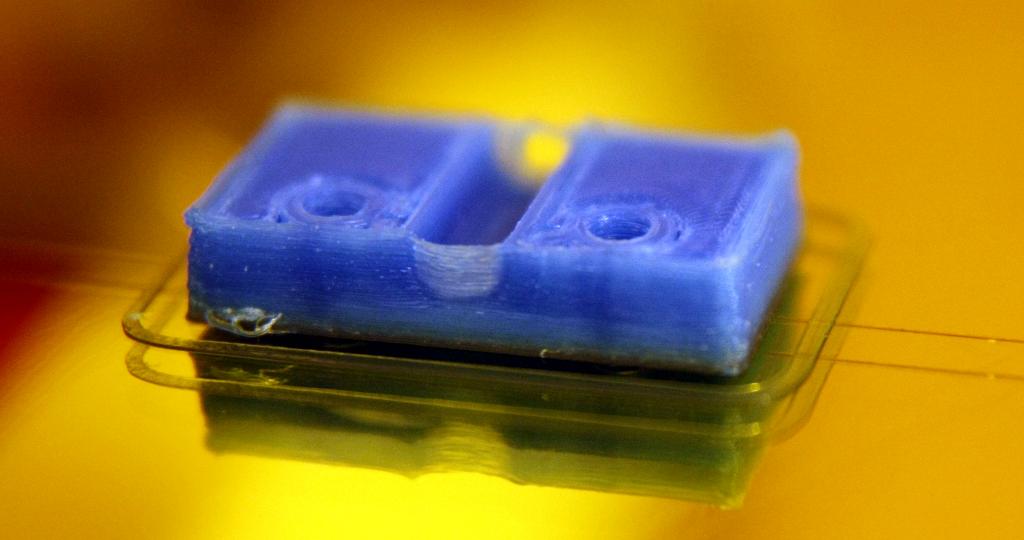
This is an extreme closeup of the first print with the 'O' frame. It is a PLA part printed at 0.35mm layers, dimensions 31mm x 17mm.
The updated SketchUP design is here. I don't expect to change the hardware now; however I still have some tweaking to do with Marlin and RepSnapper configuration.